Knowing how to create a brand kit is mostly a question of order. Build the identity files first, because every other part is derived from them. Fix the colour values second, the typography and its licence third, and the export presets last. That fourth pass is the one most kits never reach, and it is the one that decides whether the kit saves anybody a single hour.
Most brand kits get assembled in the order the assets happened to arrive. A logo lands from a designer, a colour gets picked in a meeting, a typeface is chosen because it looked right on one slide. The result is a folder, and a folder is not a kit. Build order matters because each pass closes decisions the next pass depends on, and because only the final pass touches the work you actually repeat every week.
How to Create a Brand Kit in Four Passes, in This Order
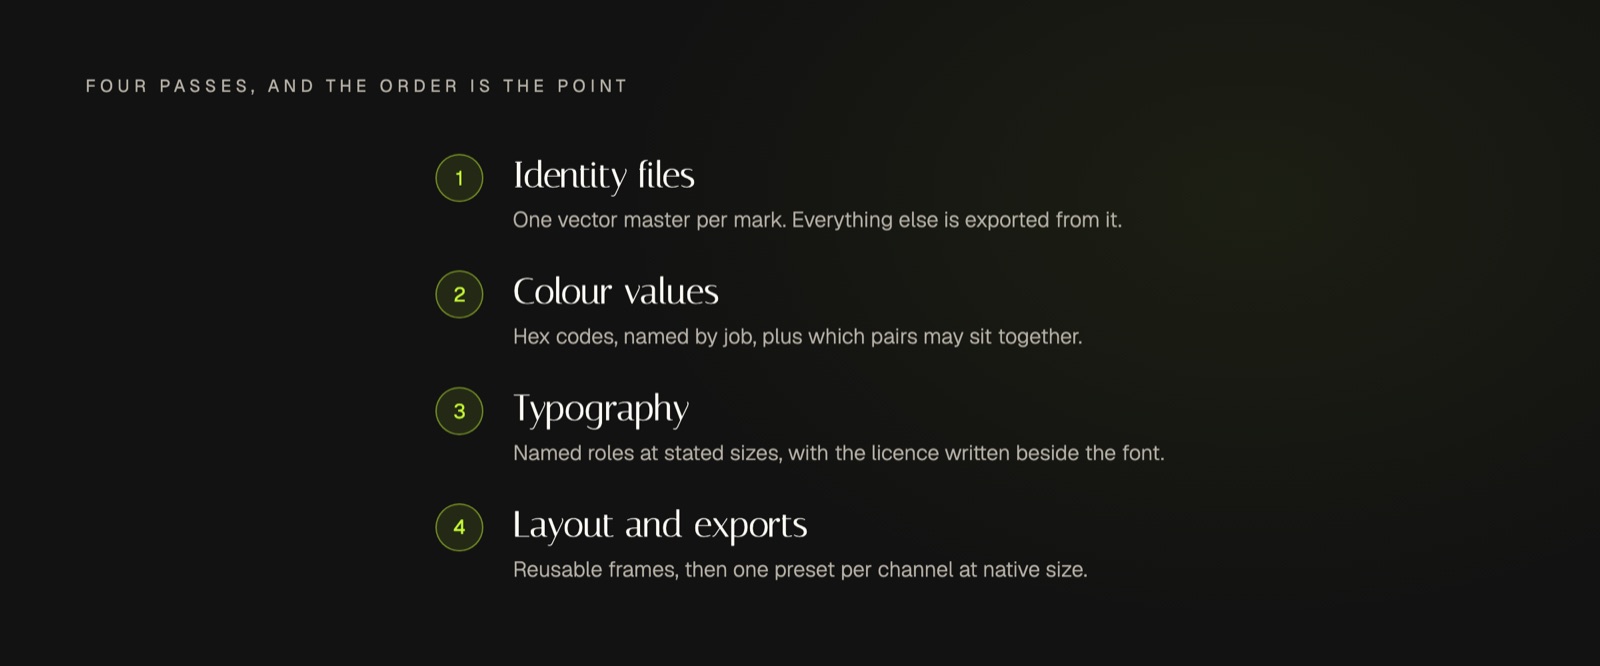
Four parts, built in sequence: identity files, colour values, typography, then layout and export presets. Our longer piece on the subject argues that a kit should read as a specification rather than a mood board, and this sequence is how you end up with one. Each pass fixes a set of values, so the pass after it has something solid to point at instead of an opinion to interpret.
The order is not interchangeable. You cannot write an export preset until you know which logo variant belongs on a dark background, and you cannot answer that until the identity files exist as vectors with named variants. Work the four passes out of sequence and you will redo two of them.
Passes One and Two: Vector Masters, Then Exact Colour Values
Pass one produces one vector master per mark: the primary lockup, a compact or stacked variant, and the icon on its own. Vector, because a single SVG scales to a billboard and to a favicon without a second file existing anywhere. Every raster version you will ever need gets exported from that master. Nothing gets redrawn, which is what stops the logo quietly changing shape over eighteen months.
Pass two converts colour from a look into a set of values. Write the hex code for each colour, name each one by its job rather than its appearance, and say which colour is the default background. Then write down which pairs are allowed to sit together, which is the part almost everyone leaves out. The W3C sets the readable floor at a contrast ratio of at least 4.5 to 1 for normal text, relaxing to 3 to 1 for large text, where large means at least 18 point or 14 point bold. Test your pairs against that once, record the ones that survive, and nobody has to judge it again under time pressure.
Pass Three: Typography and the Licence Beside It
Pass three names the typefaces and pins the sizes. Two families is usually enough, sometimes one with two weights. Give each role a number rather than an adjective: body text at a stated pixel size and line height, headings at a stated size, captions at a stated size. An adjective like considered cannot be applied by a stranger. A number can.
Then record the licence next to the font name, in writing, because this is where small businesses get caught. Open licences are permissive but conditional. Fonts released under the SIL Open Font License can be bundled and redistributed freely, but may not be sold on their own, must stay under that same licence when modified, and cannot carry a reserved font name once you alter them. Paid desktop licences carry their own limits on installs and on embedding. Three lines beside the font name settles it permanently.
How to Create a Brand Kit That Ends in Export Presets
An export preset is a saved output setting that produces a finished file at the exact dimensions, format and colour space one channel displays, so that nobody resizes anything by hand.
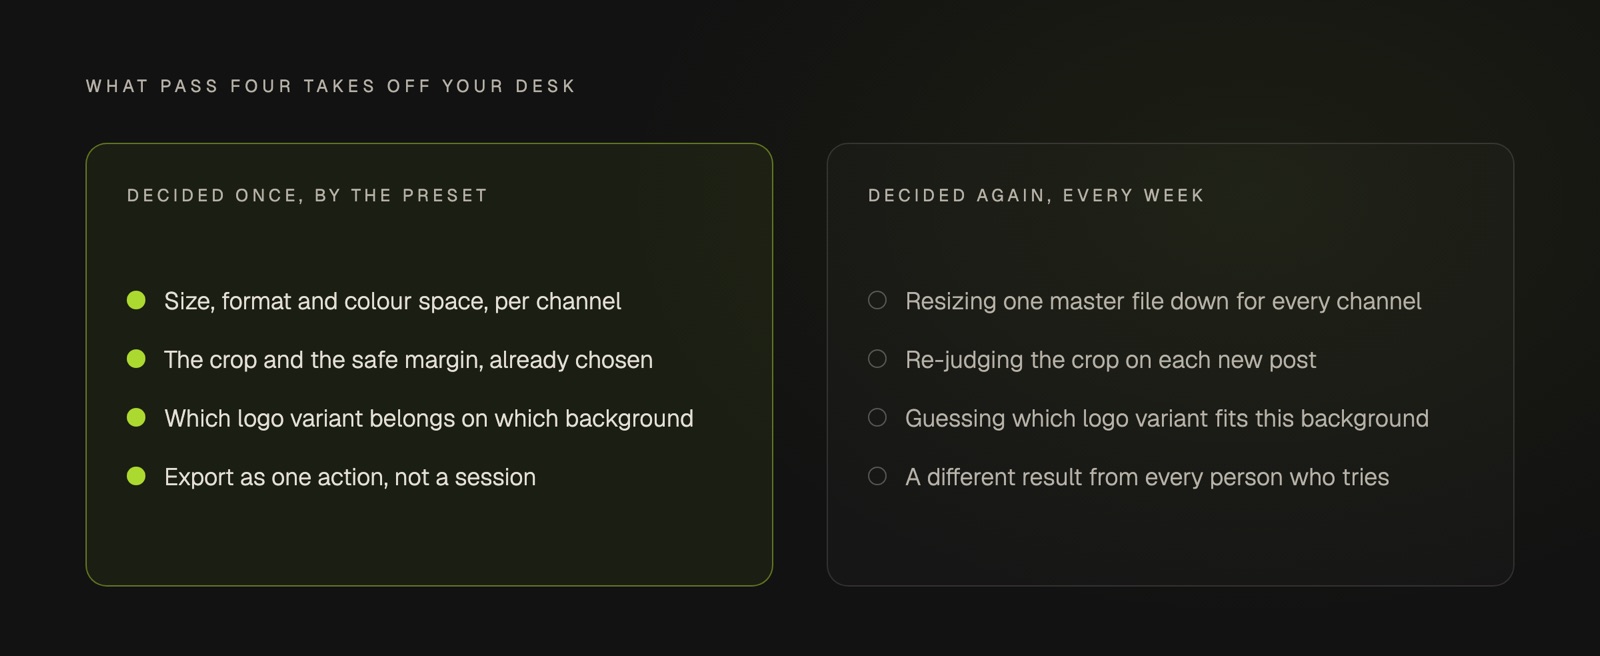
Pass four is where a kit stops being a reference document and becomes a tool. It has two halves. First, three or four layout frames: fixed arrangements of image, headline and margin that get reused rather than reinvented. Second, one export preset per channel you publish on, built at that channel's native size instead of squeezed down from a single master file.
Most kits stop after pass three, which is why so many of them change nothing about the week. Passes one to three make your work checkable. Pass four makes it repeatable, and repeatable is the only property that compounds. If you are deciding a crop, a font size or a safe margin again on Tuesday, the decision was never actually recorded, whatever the document says.
Frequently Asked Questions
What do you include in a brand kit?
Four things, in this order: identity files as vector masters with named variants, a colour system with hex values and approved pairings, a typography system with named roles and stated sizes plus the font licence, and a layout and export layer with reusable frames and one preset per channel. Anything else is a nice extra. Those four are the load bearing parts.
Can you create a brand kit online for free?
Yes for the storage, no for the decisions. Free design platforms will hold your logo, hex codes and fonts and apply them to templates, which handles the filing perfectly well. What no free tool does is decide which of your four blues is the default background or whether a headline may sit on it. Knowing how to create a brand kit means making those calls yourself and then writing them somewhere a tool can read.
How do you build a brand from scratch?
Not by starting here. Positioning comes first: who you serve, what you claim, and what you refuse. The kit is the record of decisions that follow from that, which is why building it before the positioning exists produces a good looking folder attached to nothing. If you want the shape of that earlier work, our Blueprint captures voice, positioning and visual identity together, and the brand audit is a faster way to find which parts you are missing.
Conclusion
The four passes are worth doing in order because the order is where the rework hides. Identity files, colour values, typography with its licence, and then the export presets that carry all three into a real channel. If you take one thing from how to create a brand kit properly, take the fourth pass seriously, since it is both the part most often skipped and the only one that gives you your Tuesday back.